English
 中文简体
中文简体 Español
Porcelain Tile Hole Cutter Sets: What Prevents Edge Chipping
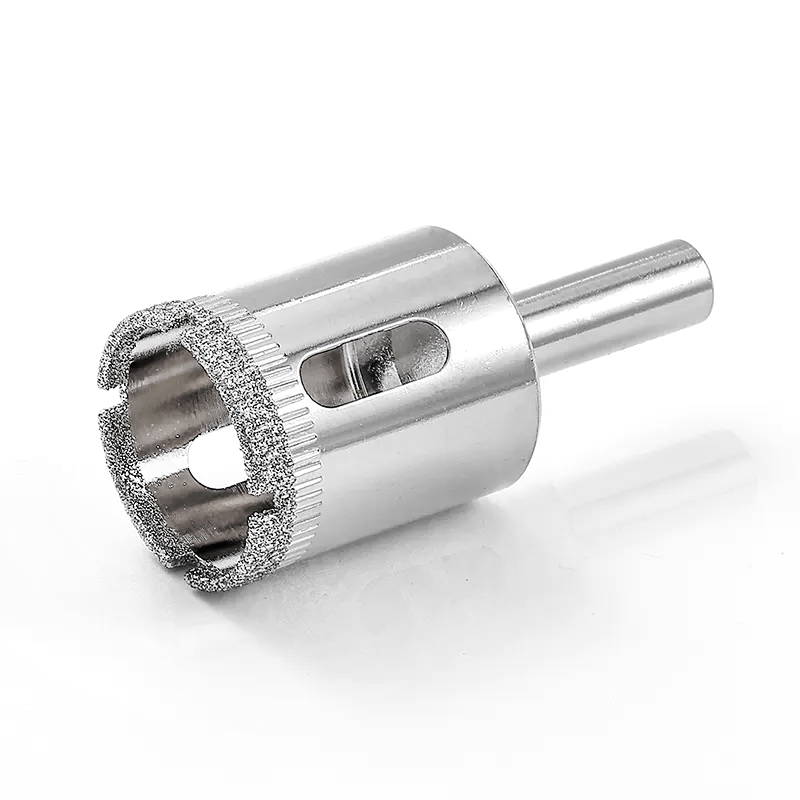
Porcelain tile has a dense, hard structure that leaves little tolerance for uncontrolled drilling. Edge chipping can appear around the entrance, along the inner wall, or at the point where the cutter breaks through the back of the tile. A suitable porcelain tile hole cutter set can reduce these problems through the right diamond edge, wall thickness, cutting speed, and drilling technique.
The quality of the finished opening depends on the interaction between the cutter and the tile rather than the diamond coating alone.
Thin Walls Can Reduce Cutting Pressure
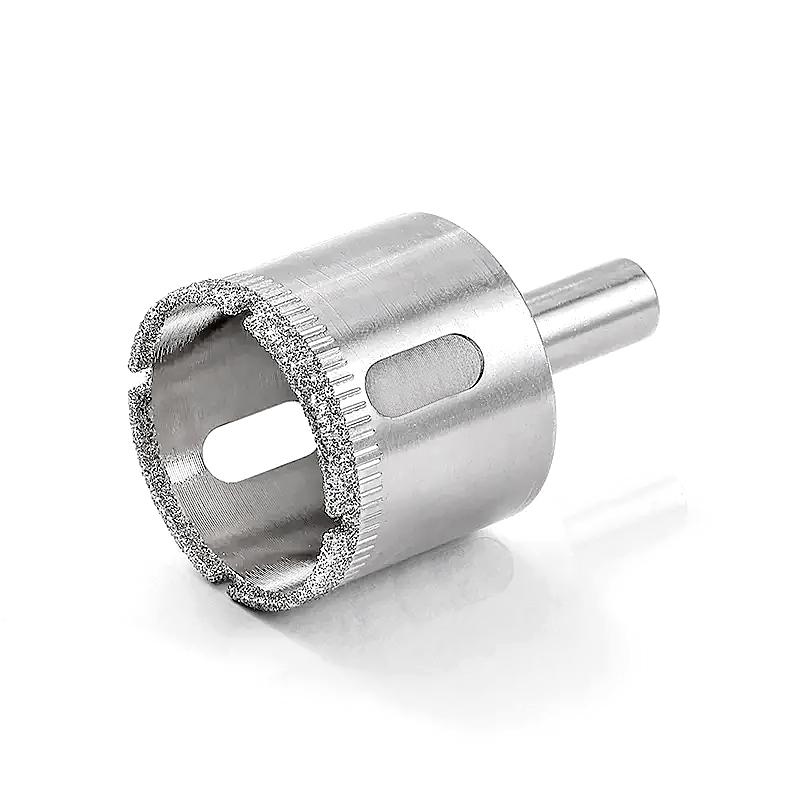
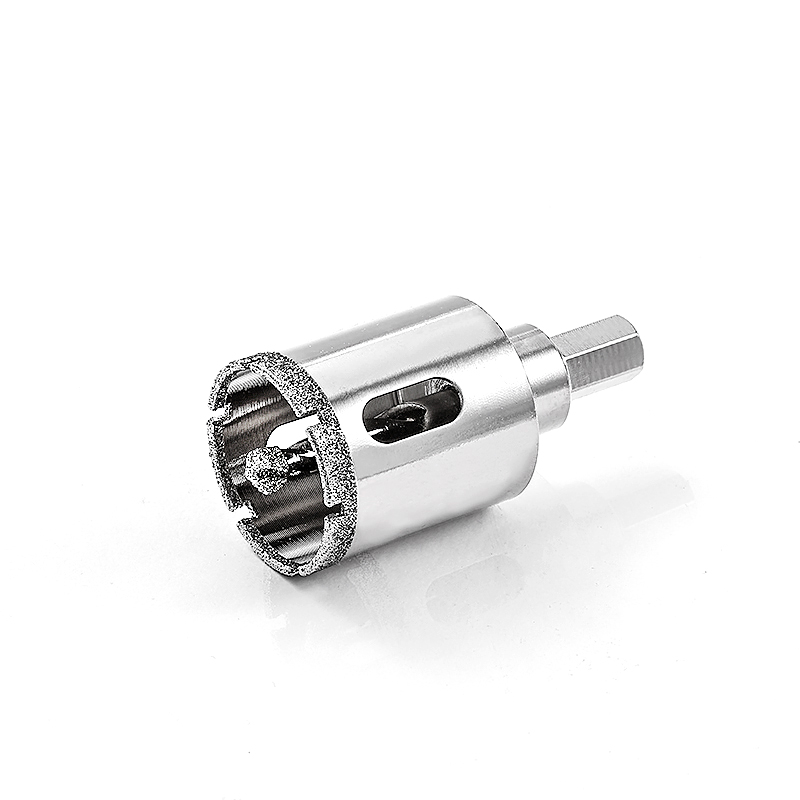
Hole saw wall thickness affects how much material contacts the tile during drilling. A thinner cutting wall removes a narrower ring of porcelain, which can reduce the force required to create the opening.
- Thin-wall construction: Limits the contact area between the cutter and porcelain surface.
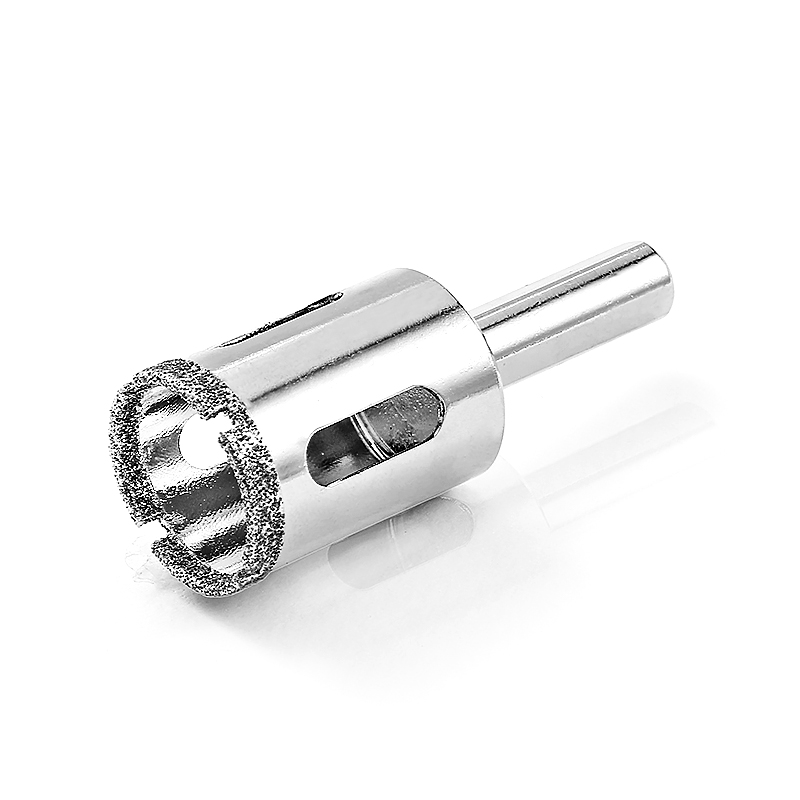
- Diamond-coated rim: Provides abrasive cutting points across the circumference.
- Rigid steel body: Helps maintain the circular shape during drilling.
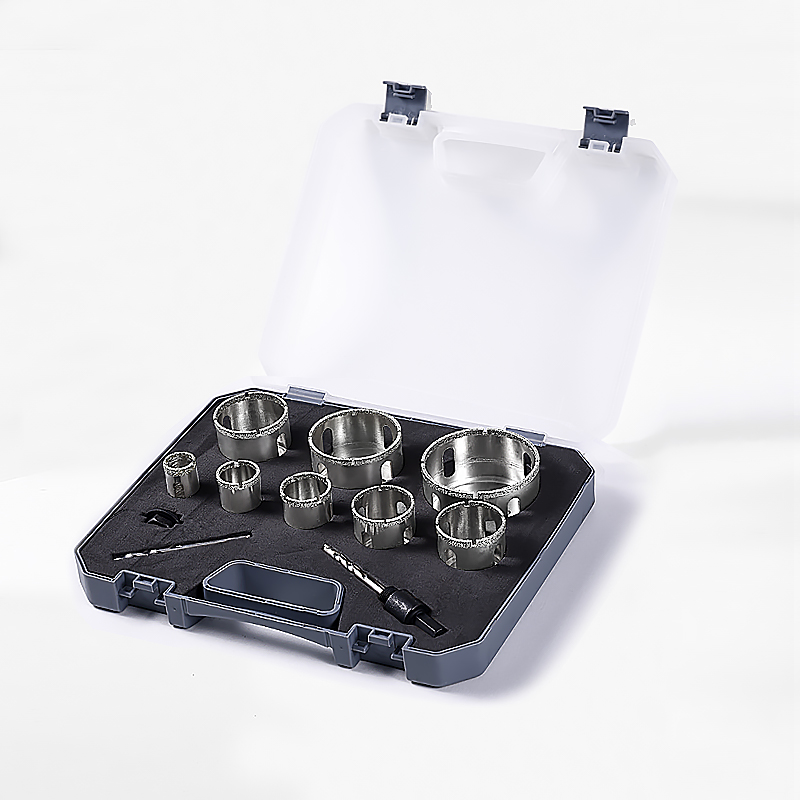
Some current diamond hole saw sets use a wall thickness around 1 mm and are specifically marketed for porcelain, ceramic, and glass. The reduced contact area is intended to minimize pressure and chipping during cutting.
Breakthrough Is a Critical Point
Chipping does not necessarily happen at the start of the hole. The final stage can be more sensitive because only a thin layer of porcelain remains beneath the cutting rim. Excessive pressure may cause that unsupported material to break away instead of being ground gradually.
- Reduce downward pressure as the cutter approaches the rear surface.
- Maintain stable alignment instead of forcing the cutter through the final section.
- Allow the diamond rim to remove the remaining material gradually.
Recent drilling guidance also recommends reducing speed and pressure near breakthrough because the exit side has less structural support.
Starting Position Can Affect the Edge
Glazed porcelain creates another challenge: the smooth surface can allow the cutter to slide before the diamond rim establishes a groove. A wandering cutter can create an irregular starting mark and increase the chance of surface damage.
Starting at a slight angle allows the rim to create a small groove before the cutter becomes fully vertical. Guidance for porcelain drilling commonly recommends this approach, followed by a gradual transition to a straight drilling position.
Guide Systems Add Stability
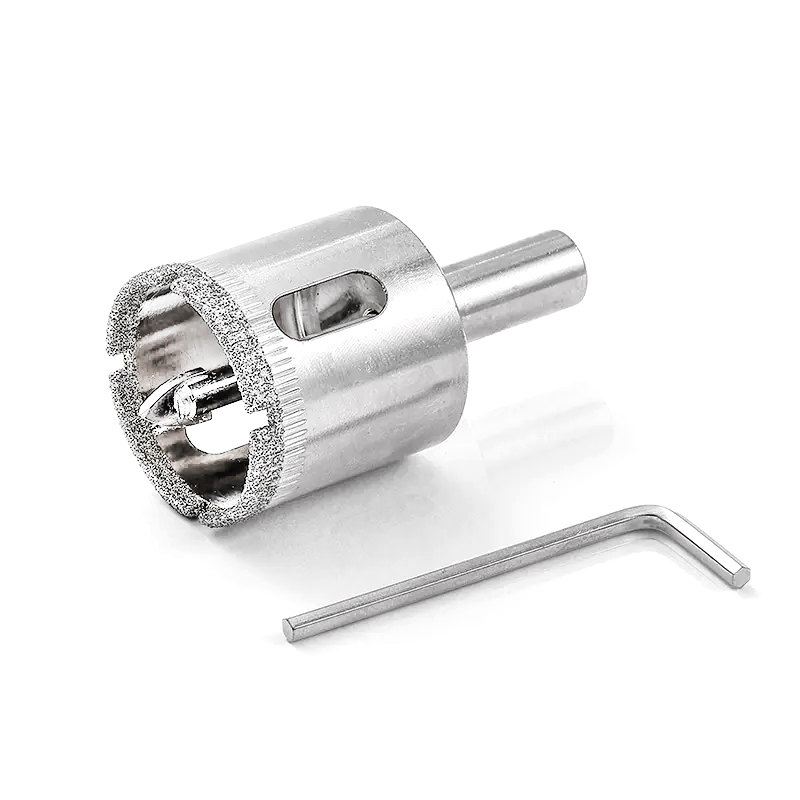
Some hole saw kits include guide accessories that help keep the cutter centered during the initial stage. This can be useful around faucet holes, shower fittings, plumbing connections, and other visible installations.
A stable guide does not replace the cutting capability of the diamond rim, but it can reduce unwanted movement during the stage where the cutter has not yet formed a complete circular groove.
Cooling Controls More Than Temperature
Heat buildup can affect both the diamond cutting edge and the porcelain surface. Wet drilling is commonly recommended for diamond core drilling across porcelain and other hard tile materials. Water helps manage heat while also carrying loose particles away from the cutting zone.
- Wet drilling: Suitable for hole cutters rated for water-assisted operation.
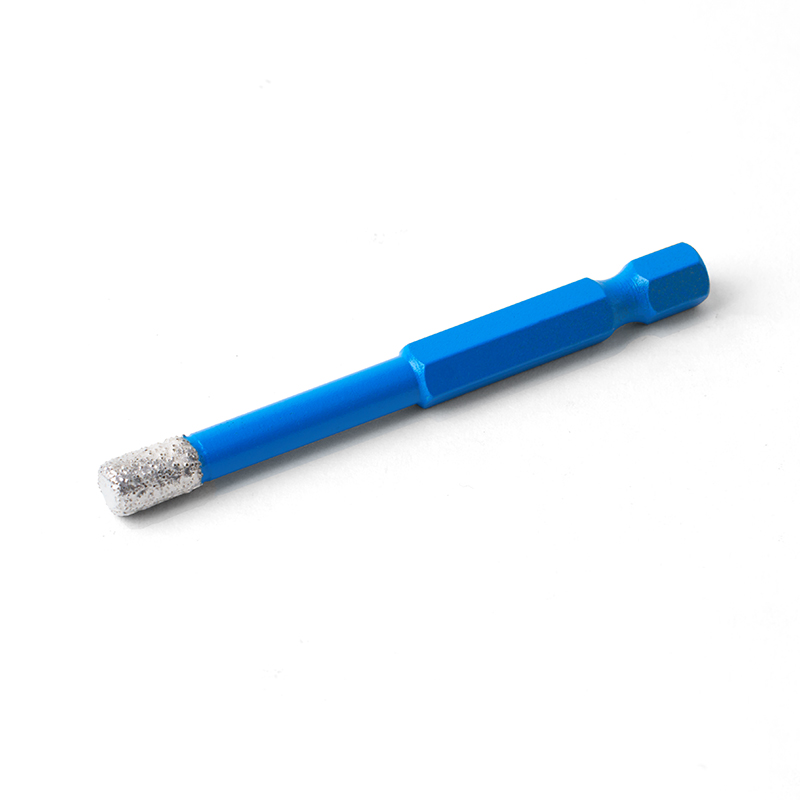
- Cooling wax: Certain small-diameter hole saws incorporate wax to assist with heat management during dry drilling.
- Water guide cups: Some systems provide controlled water around the cutting area.
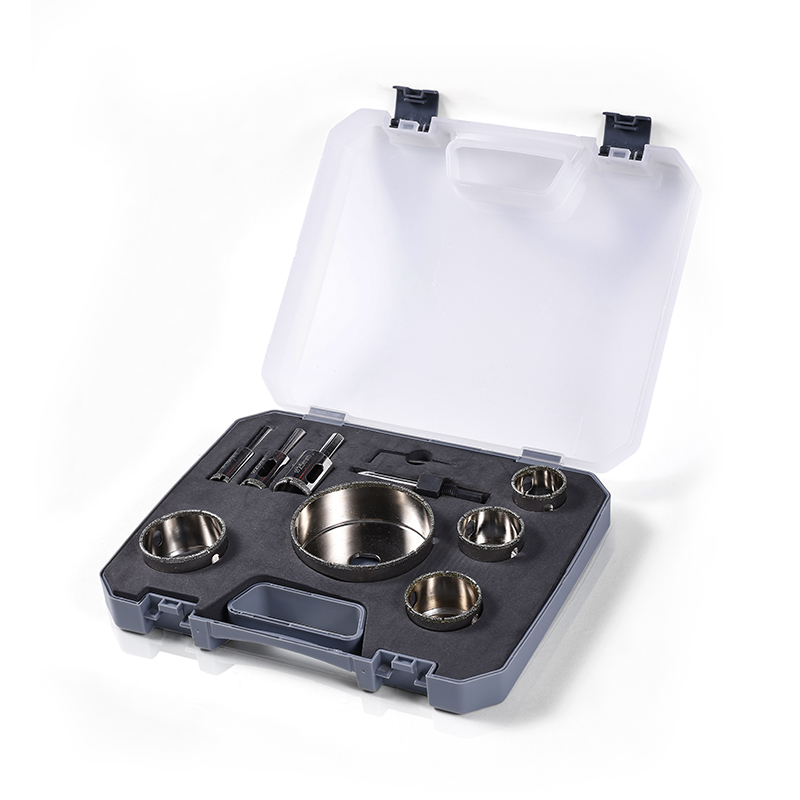
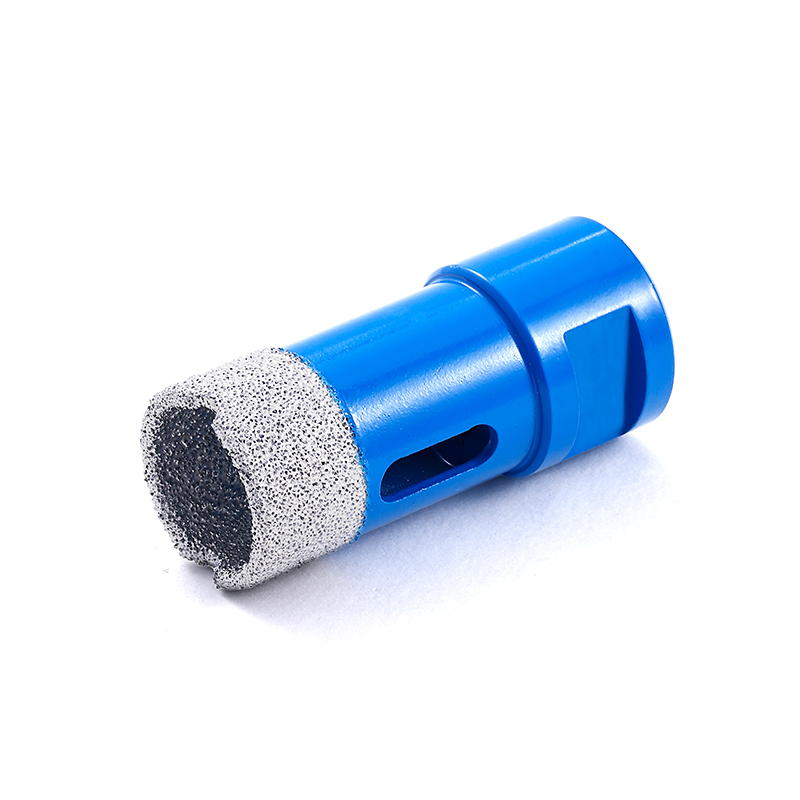
Current multi-piece diamond sets are available with different cooling approaches. Some 6–10 mm tools use cooling wax, while larger cutters may use features intended to improve heat dissipation and debris removal.
Speed and Pressure Need Balance
High rotational speed combined with heavy downward force can create vibration, friction, and excess heat. Porcelain requires a controlled abrasive action rather than aggressive pushing.
Published guidance commonly recommends starting at a lower speed, establishing a stable groove, and maintaining moderate pressure through the main cutting stage. Speed and pressure should also follow the specific cutter manufacturer's rating.
Different Holes May Need Different Cutters
Not every opening requires the same diameter or cutter configuration. A small mounting hole, 35 mm faucet opening, and 50 mm pipe penetration place different demands on the tool.
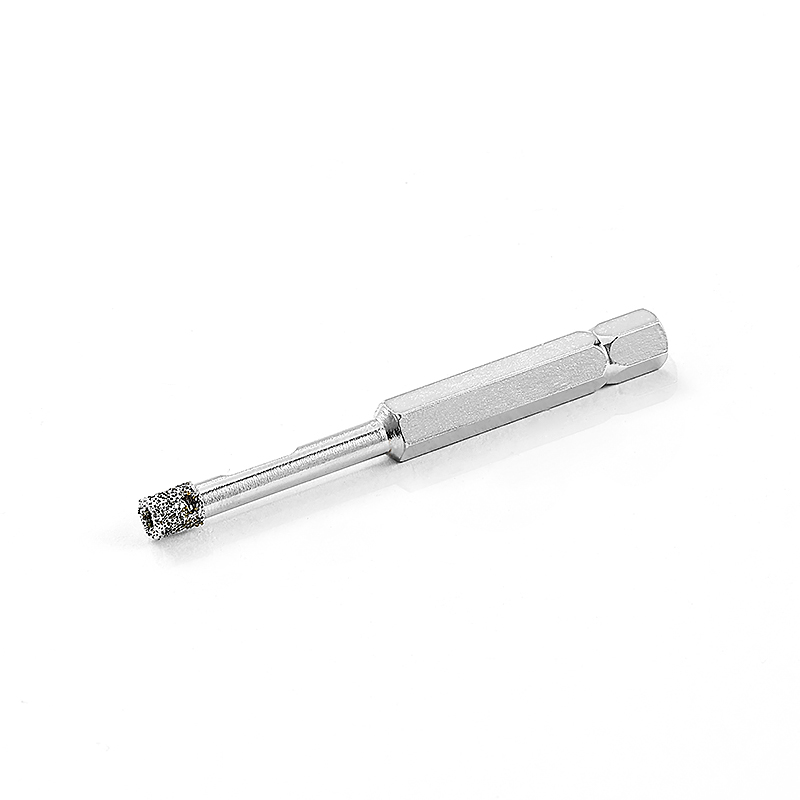
- Small holes: Compact diamond cutters can suit anchors, brackets, and small fittings.
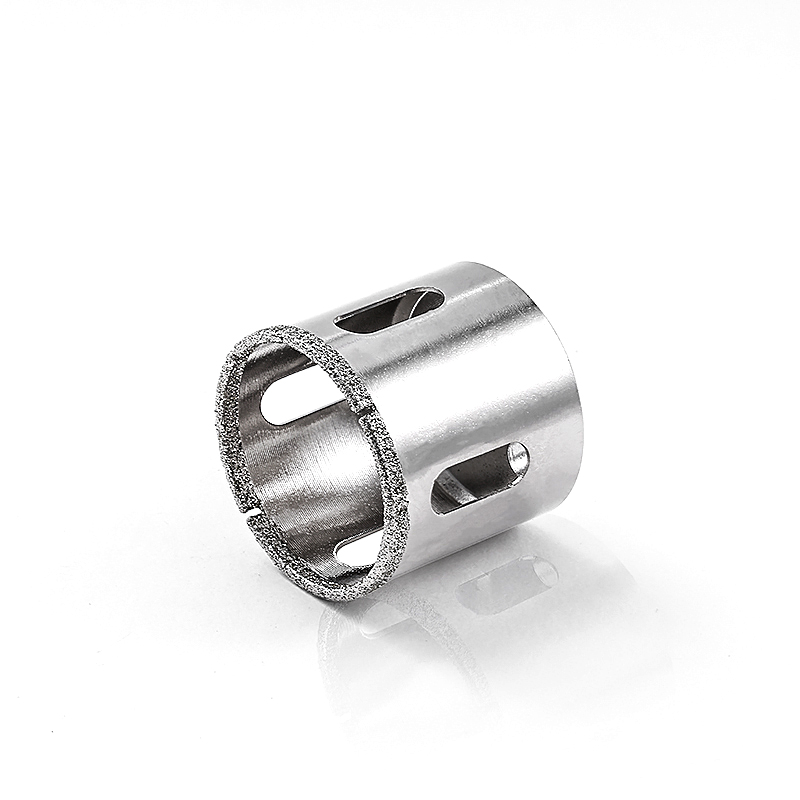
- 25–35 mm holes: Commonly useful for faucets, shower components, and plumbing connections.
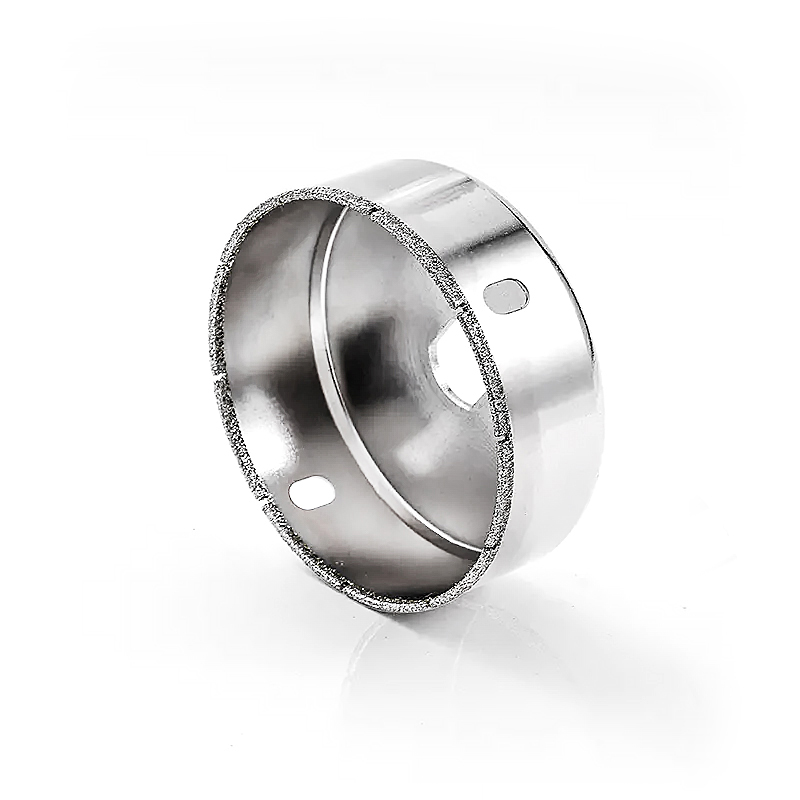
- 50 mm and larger: Suitable for larger pipes, drains, and fixture penetrations where the application calls for additional clearance.
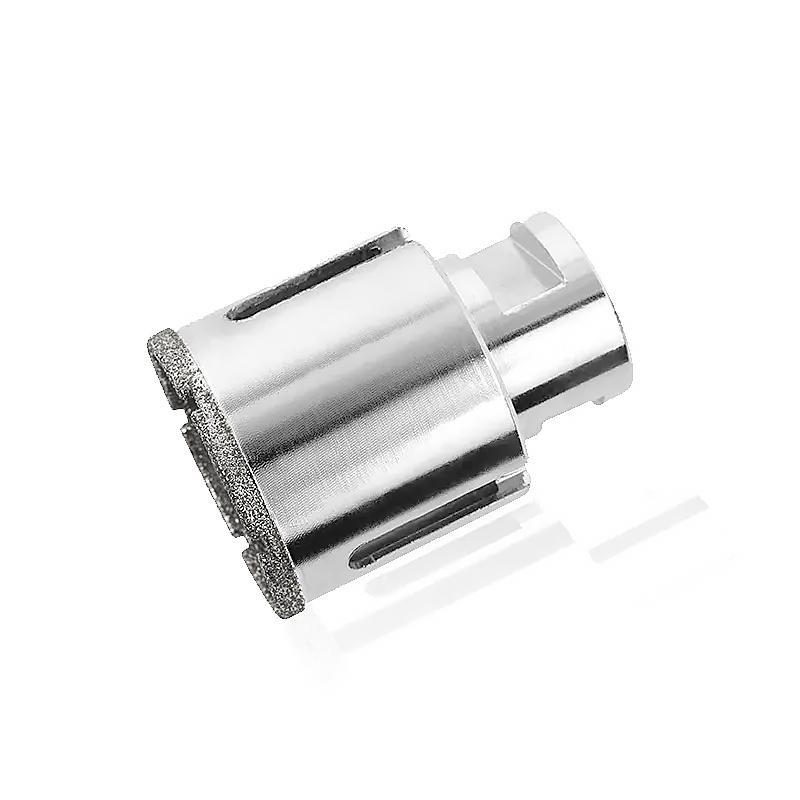
Current sets combine sizes such as 25 mm, 35 mm, and 50 mm, while larger professional kits can extend to 75, 100, or 125 mm.
What Really Prevents Porcelain Chipping?
A porcelain tile hole cutter set cannot rely on diamond grit alone to produce a clean opening. Thin-wall construction, stable positioning, suitable speed, moderate pressure, proper cooling, and careful breakthrough control all influence the final edge.
Material thickness also matters. A cutter designed for porcelain should have sufficient cutting depth for the tile while maintaining a stable body throughout the operation. The correct diameter and mounting interface are equally important for keeping the cutter aligned.
Clean porcelain holes therefore come from a complete cutting system: the right diamond rim, suitable cutter dimensions, controlled drilling parameters, and careful handling near the exit surface. This combination helps reduce chipped edges while keeping the finished opening suitable for faucets, pipes, shower fittings, anchors, and other installation requirements.